In this article:
Email remains an effective way of sending invitations to a wide audience. Whether you're announcing an exclusive webinar, presenting a new product or inaugurating a new branch, the main objective is to encourage your contacts to save the date and participate in large numbers.
The “Calendar Event” block is the perfect tool to help you achieve this. It enables your recipients to easily add your events or appointments to their calendar. By integrating icons and links, it facilitates the automatic creation of events in the most popular calendars such as Apple, Google, Yahoo Calendar and various versions of Outlook.
How it works
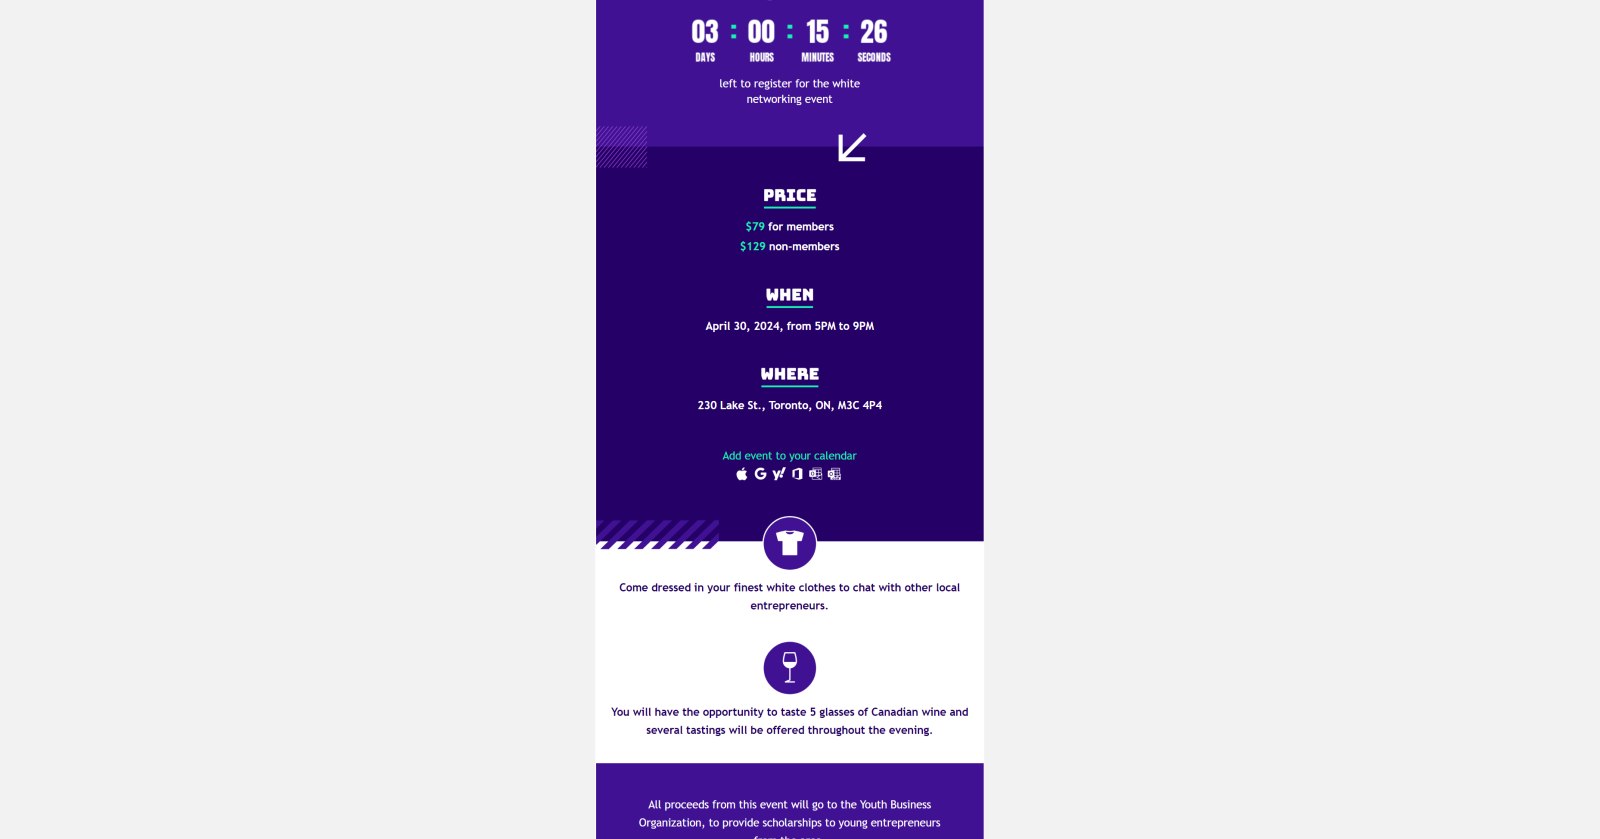
To easily integrate your event into your emails, simply add the “Calendar Event” block to your template and enter your event information in the block properties. You can then customize the block's appearance by choosing from various icons and text styles.
When your mailing is sent, we'll automatically add personalized links that will enable your recipients to create the event in their calendar. Some tools, such as Google and Yahoo Calendar, as well as the web versions of Office 365 and Outlook.com calendars, use web links for this. By clicking on the link of their calendar, your subscribers will be redirected to a web page or their mobile calendar app, and they'll simply have to save the event to add it.
However, for Apple and Outlook (desktop version) users, we use calendar files in iCalendar (.ics) format. When they click on their calendar link, they'll be prompted to download an ICS file. Then all they have to do is open it with their calendar to save the event.
Calendars available and their icons
![]()
- Apple Calendar
- Google Calendar
- Yahoo Calendar
- Office 365 (web version)
- Outlook (desktop app)
- Outlook.com (free web version)
How to add and customize the calendar event block
- Open your template in edit mode.
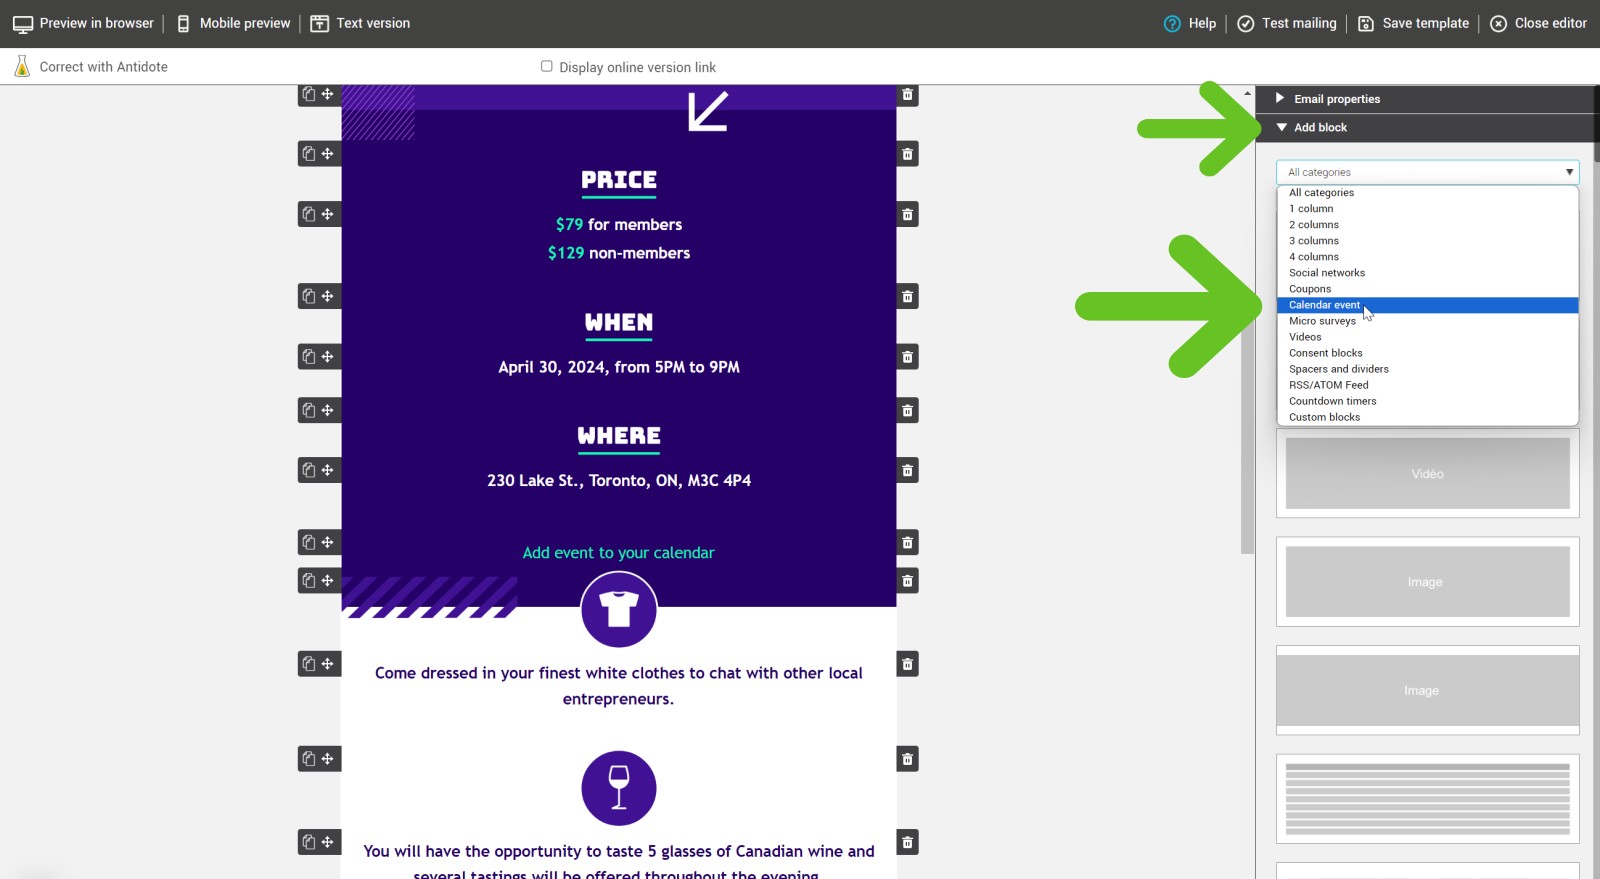
- In the side panel on your right, open the Add block section. From the drop-down list of block categories, select Calendar event.
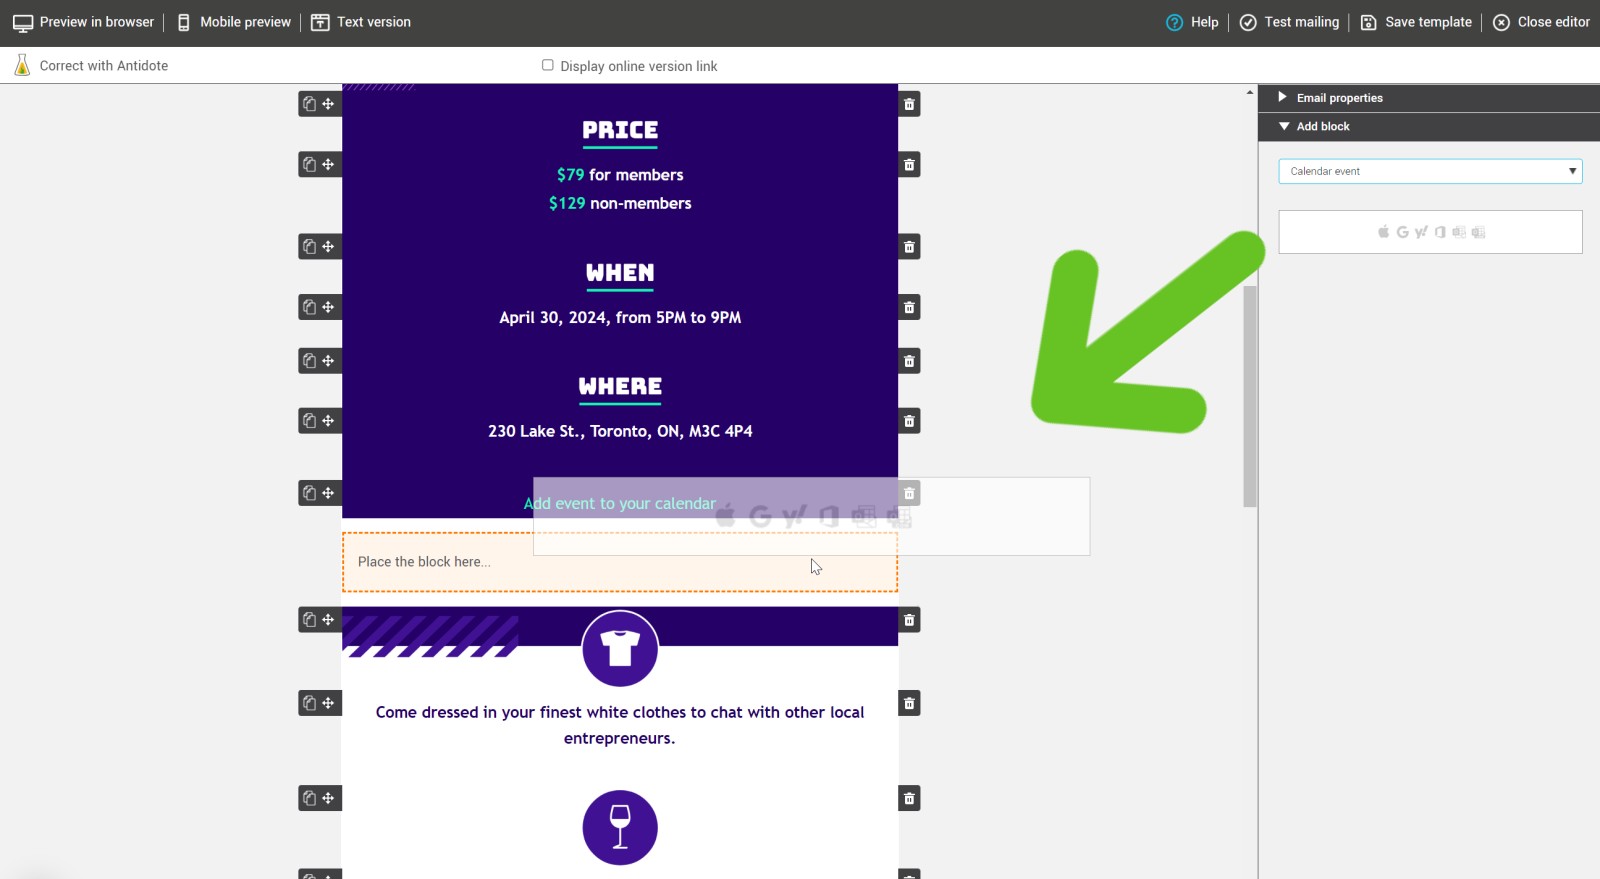
- Then drag and drop the block to the appropriate place in your template.
- In the block properties, under Calendar event, choose the desired appearance for your calendar icons.
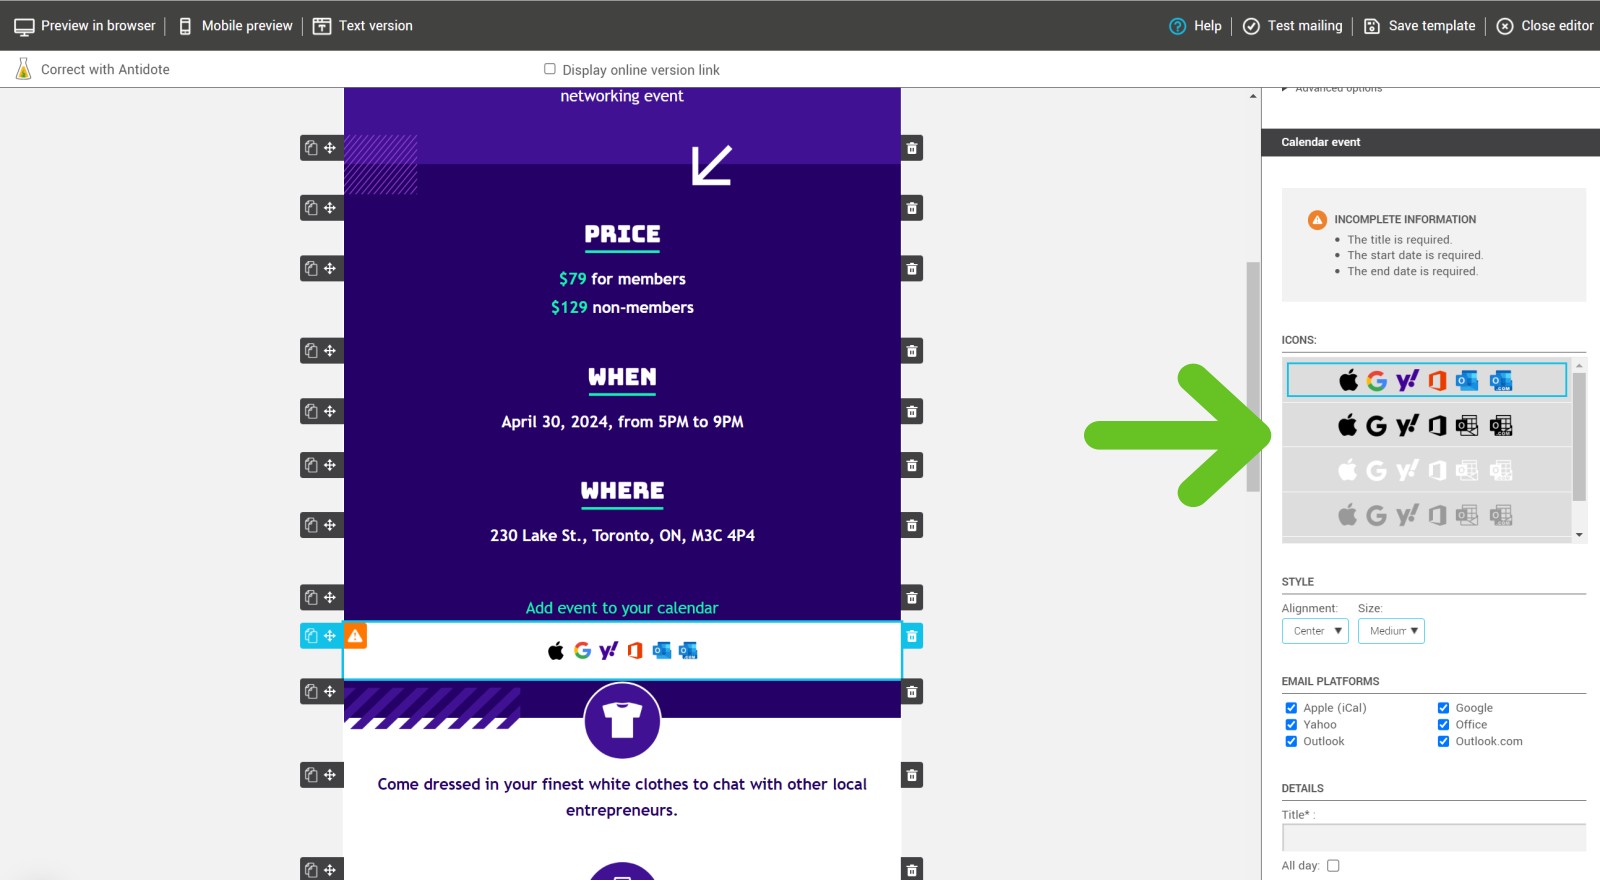
- In the Style section, select the alignment and size of the icons. If you've chosen text links, you can also change their colour, if required.
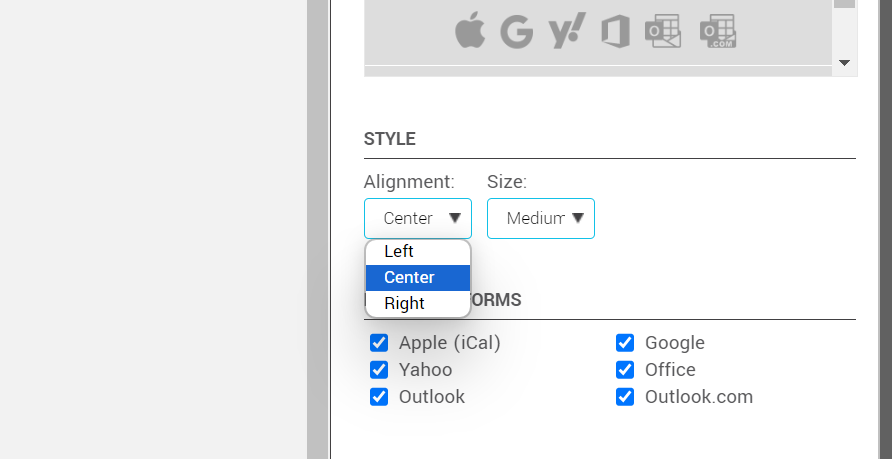
- Under Email platforms, select the calendar icons you wish to be displayed. By default, they are all already selected.

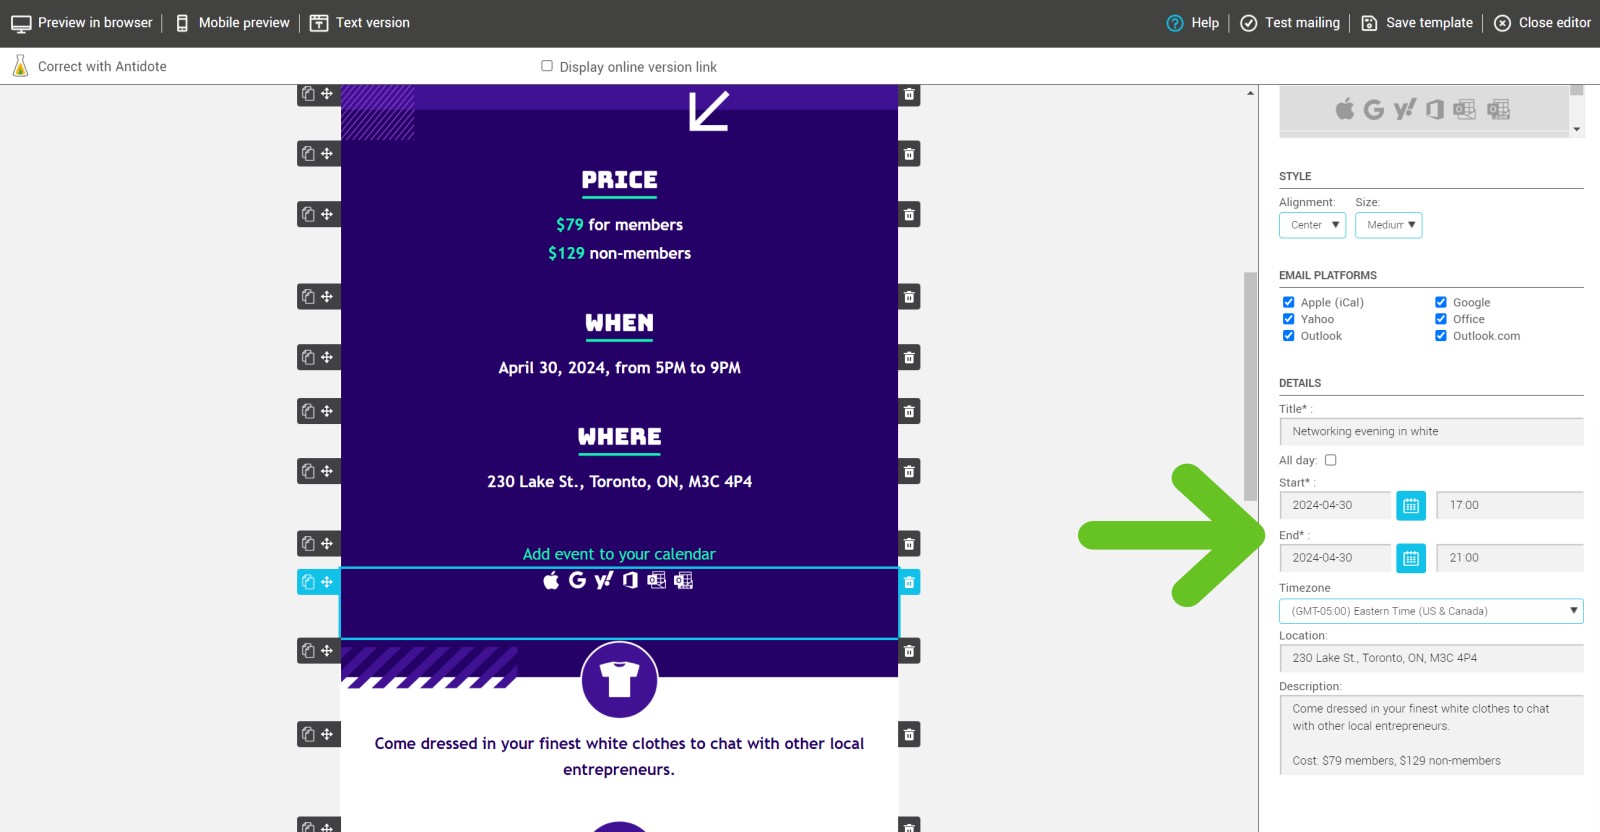
- In the Details section, enter information about your event:
- Title (required)
- Start date and time, as well as its end date and time.(required) Note: Check Full day to avoid specifying times.
- Time zone for the event time (by default, this is your account time zone).
- In the Location field, enter the physical address or URL of the virtual meeting (optional)
- Event description (optional)
- Don't forget to test before sending.
Testing calendar links
To test your calendar links, you'll need to send a complete mailing to your test group.
Learn how to test your mailing >