In this article:
With automated marketing scenarios, it is possible to automatically send emails based on the various contacts' date fields. For example, you could schedule an email to be sent on your contacts' birthdays, a reminder before an appointment, an annual renewal notice, a follow-up after an event, a thank you note to celebrate your members' five-year membership, or an invitation to return to the store to customers whose last purchase was made more than 6 months ago. The possibilities are endless.
Before you start
- You can automate the sending of emails based on the dates contained in the following fields: subscription date, date of birth, custom date fields. Learn how to create custom fields to import dates from your contacts >
- You can choose to start the automation before, after or on the same day as the date displayed in each field.
- The Contact's birthday and Recurring annual event triggers run based on the month and day of the date, regardless of the year. They are designed for events that recur annually, such as the renewal of an annual contract, the anniversary of a subscription date, or a birthdate.
- The Before or after a date trigger runs based on the entire date, including the year.
- Only contacts that meet the criteria of the trigger from the activation of the scenario will enter it.
Automate the sending of annually recurring emails
| Trigger: Recurring annual event |
|---|
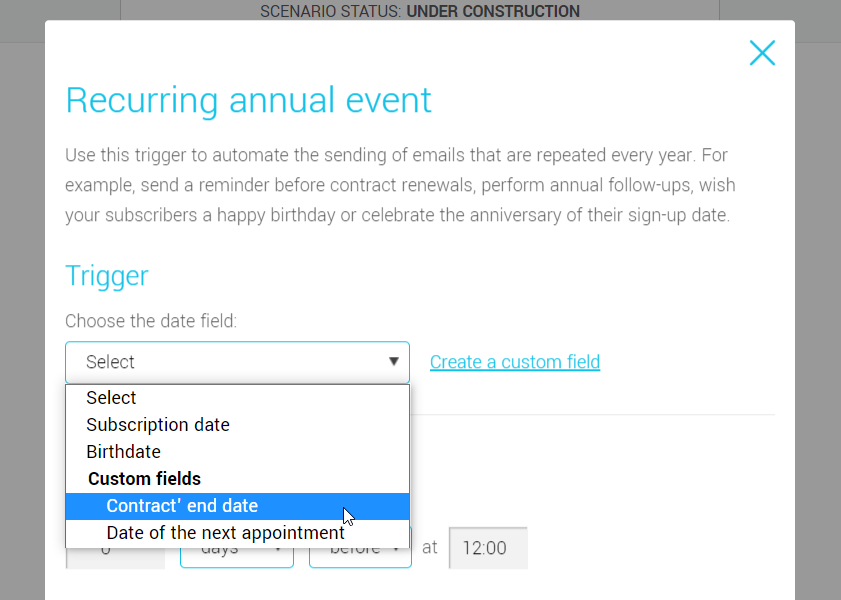
| Send a reminder before contract renewals, perform annual follow-ups, wish your subscribers a happy birthday or celebrate the anniversary of their sign-up date. |
How to
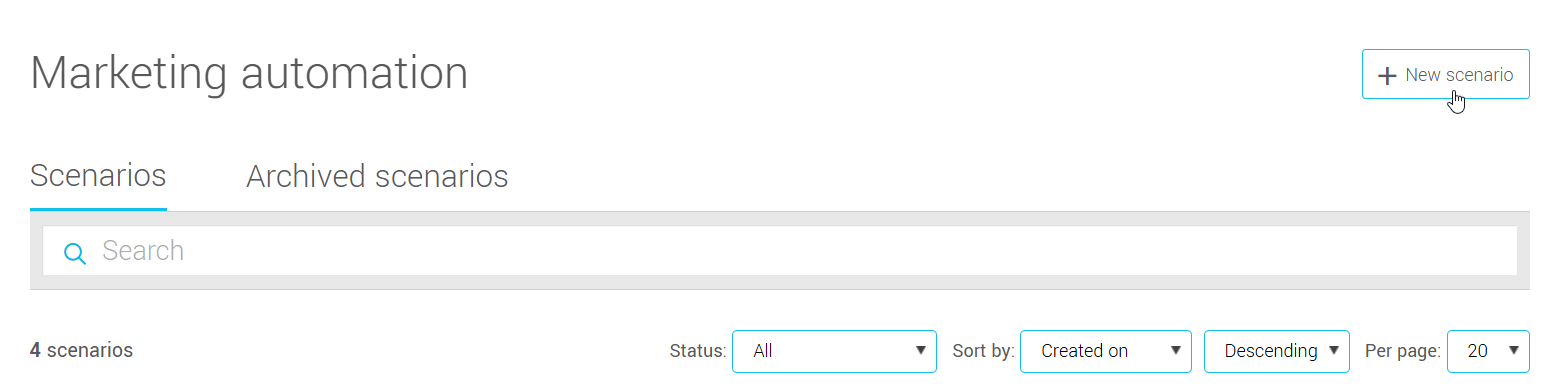
- Go to the menu and click the New scenario button.
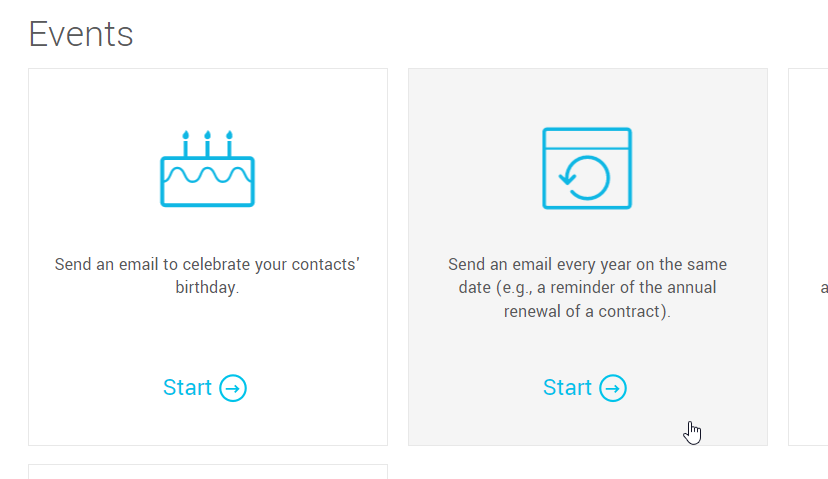
- In the Events section, choose the scenario Send an email every year on the same date...
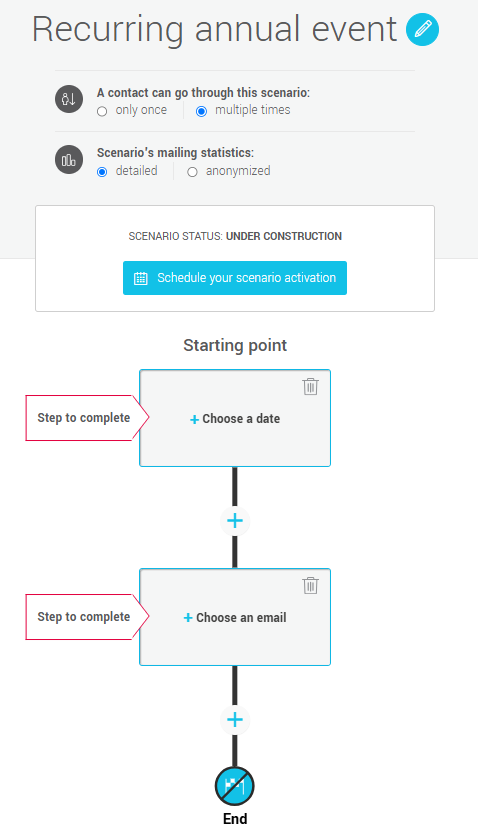
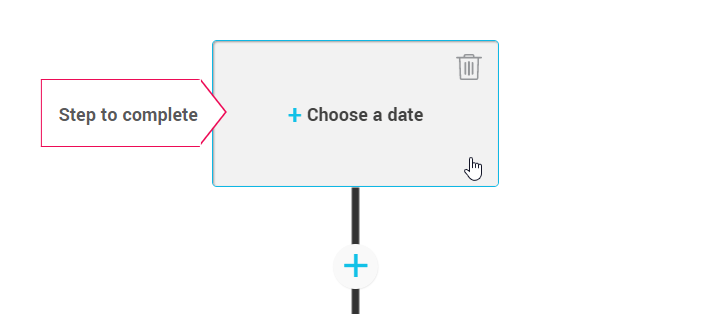
- Click Choose a date in the first step to set up the trigger for your scenario.
- In the next window, under Trigger, open the drop-down list and select the date field on which your scenario will be based. If you didn't create it yet, you can click on the Create a custom field link to add one.
- Under Trigger scheduling, enter the delay (x days, weeks or months) before or after the date you want to trigger the scenario. To send the email the same day as the date, enter "0" in the numeric field. Then select what time of day you want the trigger to run.
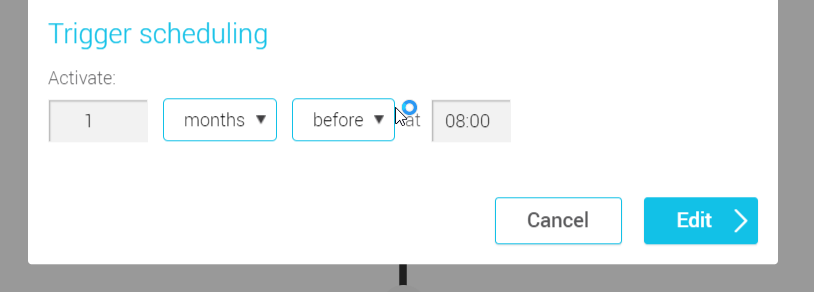
- Then click on Edit to confirm the trigger configuration.
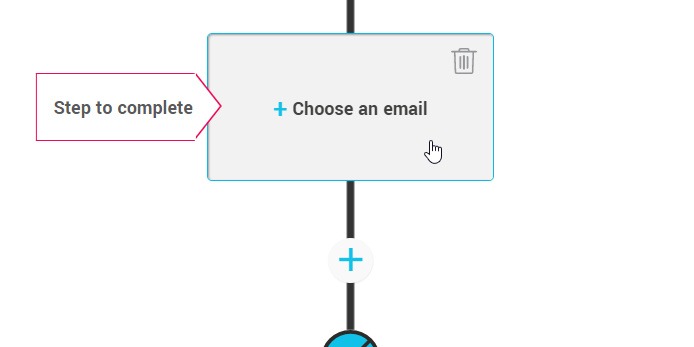
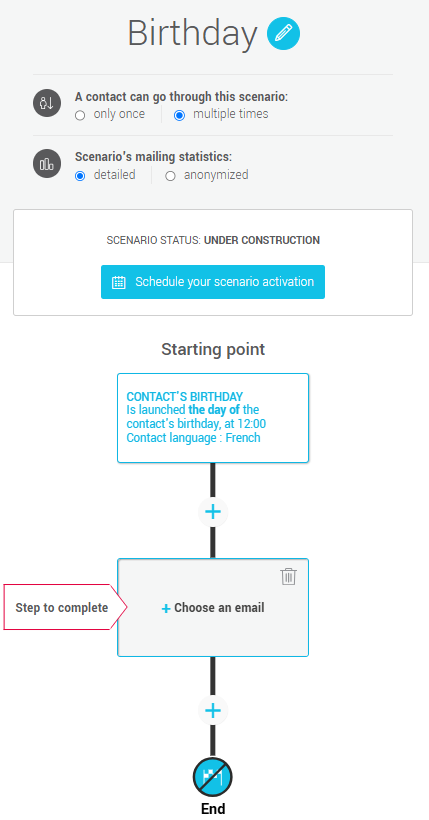
- Back in your scenario, click on Choose an email to complete the emailing step.
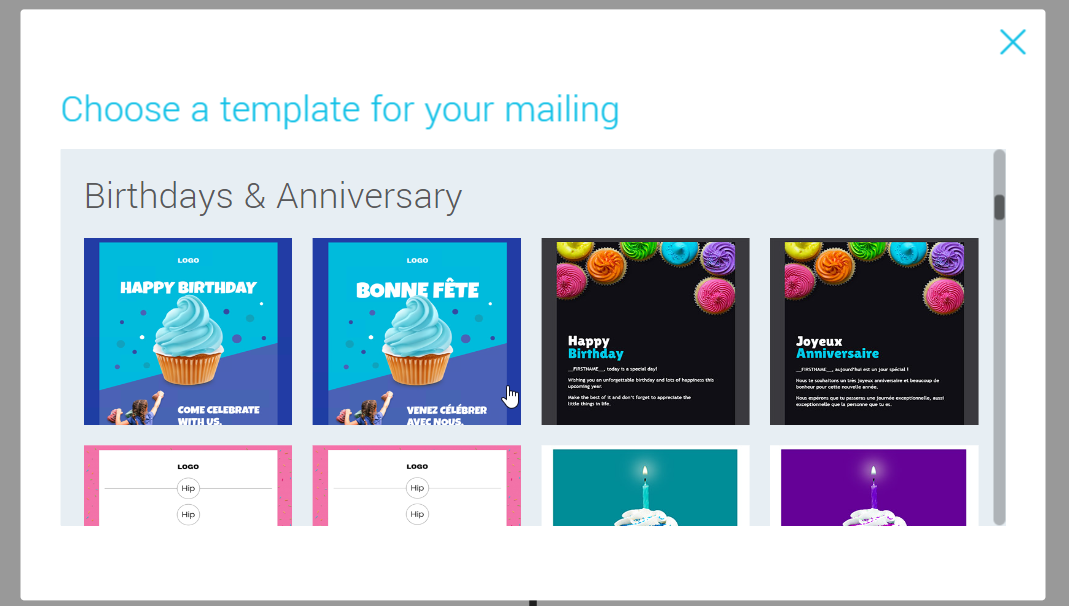
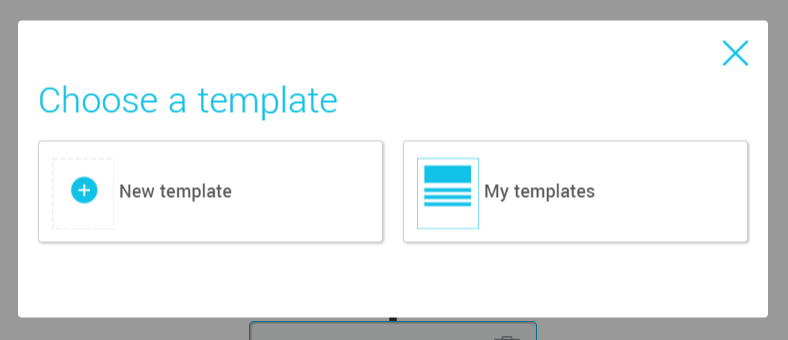
- In the Choose a template window, if you have already prepared your template, select My Templates. If your template has not yet been created, select New template option instead. Then follow the steps on the screen to complete your mailing's settings.
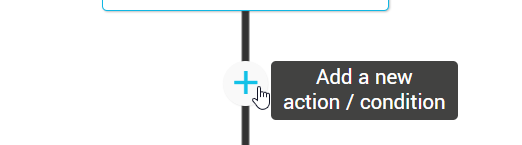
- Add, if need be, other actions, wait periods or conditions in your scenario.
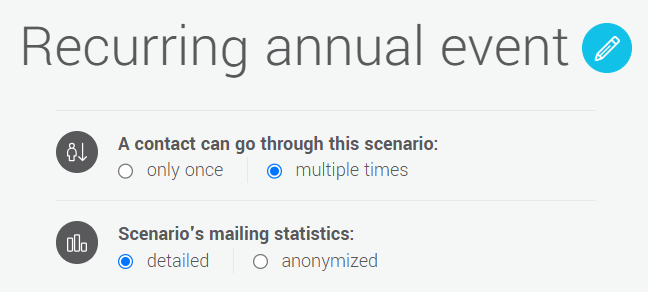
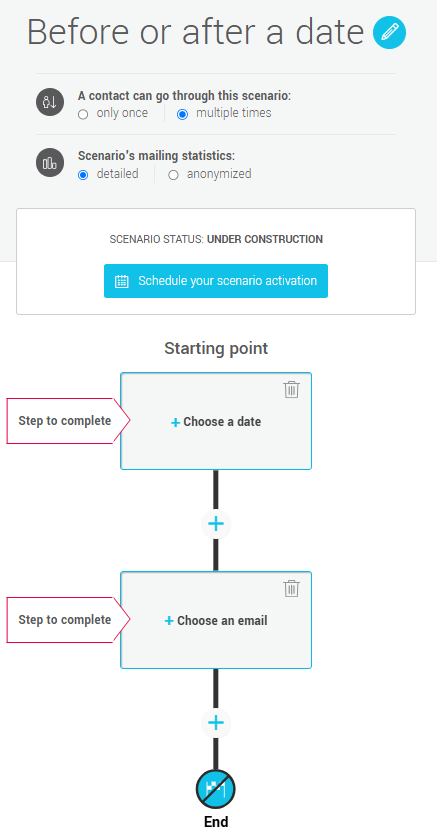
- At the top of the scenario, under its title, select the number of times you want your contacts to be able to go through your scenario: only once or multiple times.
Choose the type of tracking for your scenario's statistics.
For more information, see the following pages:
About anonymized sending statistics
Mailing statistics
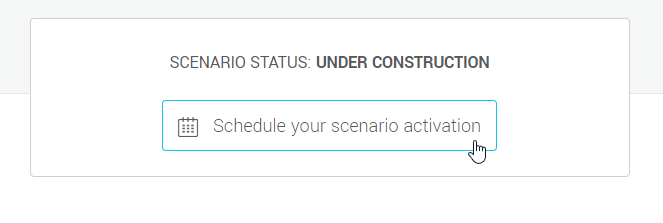
- Before finishing, don't forget to save your scenario. When your scenario is complete and ready to be used, configure its activation. Learn more >
Automatically send an email before or after a date
| Trigger: Before or after a date |
|---|
| Send a reminder before an appointment, a follow-up message after an event or a re-engagement email after the last visit or purchase. You can also use it to congratulate a member who has been a subscriber for a certain period of time. |
How to
- Go to the menu and click the New scenario button.
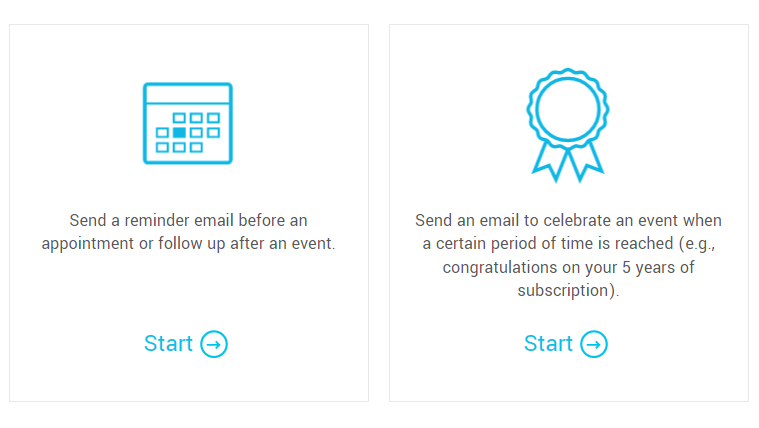
- In the Events section, choose the scenario Send a reminder email before an appointment of follow up after an event or Send an email to celebrate an event when a certain period of time is reached.
These two scenarios use the same type of trigger: before or after a date.
- Click Choose a date in the first step to set up the trigger for your scenario.
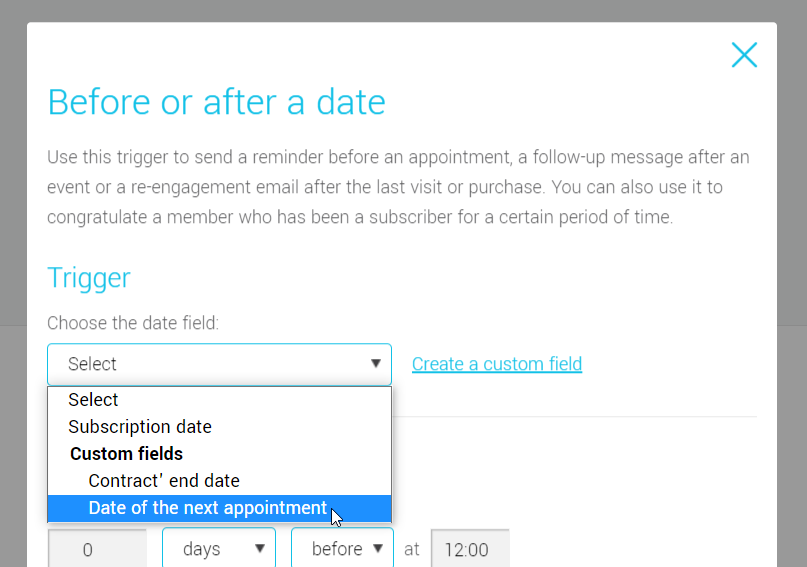
- In the next window, under Trigger, open the drop-down list and select the date field on which your scenario will be based. If you didn't create it yet, you can click on the Create a custom field link to add one.
- Under Trigger scheduling, enter the delay (x days, weeks or months) before or after the date you want to trigger the scenario. To send the email the same day as the date, enter "0" in the numeric field. Then select what time of day you want the trigger to run.
To celebrate events when a certain amount of time is reached (like a milestone), for example to celebrate your contacts' 5-year subscription, you could enter "60 months" "after" the "subscription date" in your trigger setup.
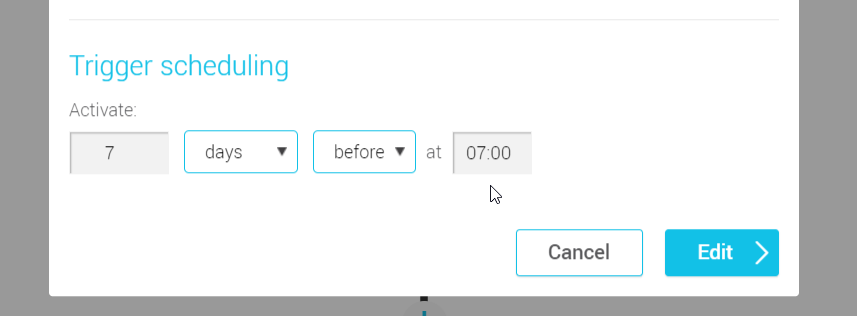
- Then click on Edit to confirm the trigger configuration.
- Back in your scenario, click on Choose an email to complete the emailing step.
- In the Choose a template window, if you have already prepared your template, select My Templates. If your template has not yet been created, select New template option instead. Then follow the steps on the screen to complete your mailing's settings.
- Add, if need be, other actions, wait periods or conditions in your scenario.
- At the top of the scenario, under its title, select the number of times you want your contacts to be able to go through your scenario: only once or multiple times.
Choose the type of tracking for your scenario's statistics.
For more information, see the following pages:
About anonymized sending statistics
Mailing statistics

- Before finishing, don't forget to save your scenario. When your scenario is complete and ready to be used, configure its activation. Learn more >
Send an email on your contacts' birthday
| Trigger: Contact's birthday |
|---|
| Celebrate your subscribers' anniversary by sending them a birthday email. This trigger is automatically linked with the Birthdate field. |
How to
- Go to the menu and click the New scenario button.
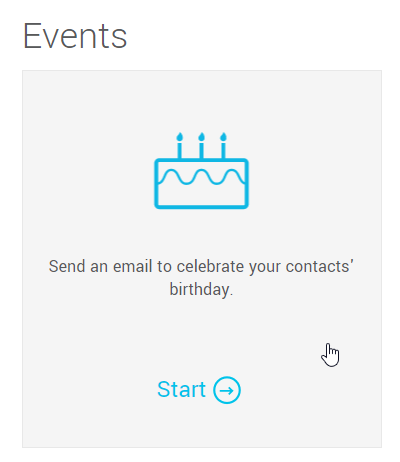
- In the Events section, choose the scenario Send an email to celebrate your contacts' birthday.
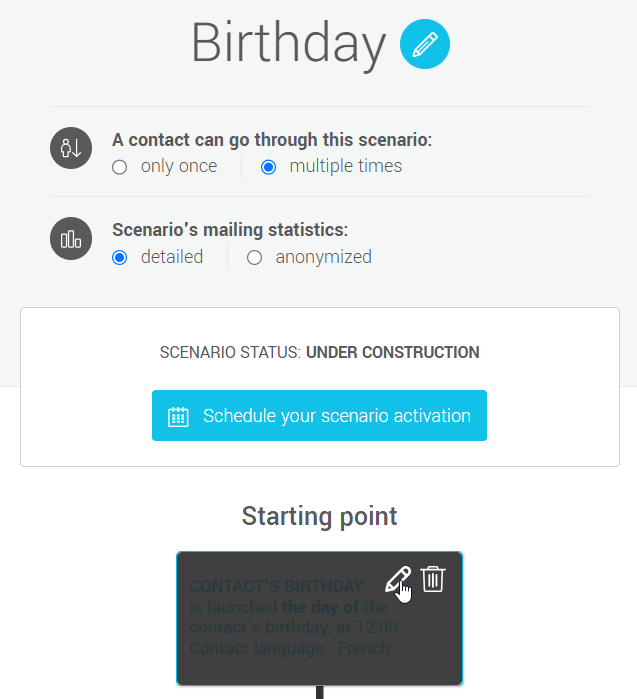
- Hover your mouse over the Contact's birthday trigger and click on the Edit icon, represented by a pencil.
-
In the window that will open, under Activate trigger, enter the number of days before or after the contact's birthday you want to send their birthday email.
To send the email on their birthday, enter "0" in the numeric field.
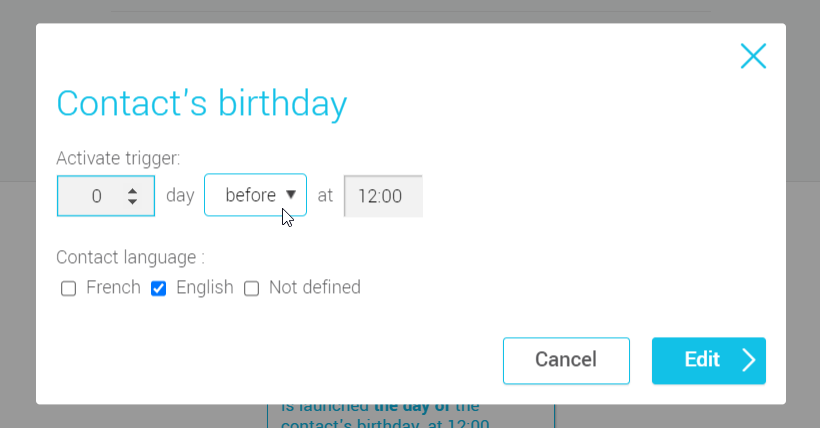
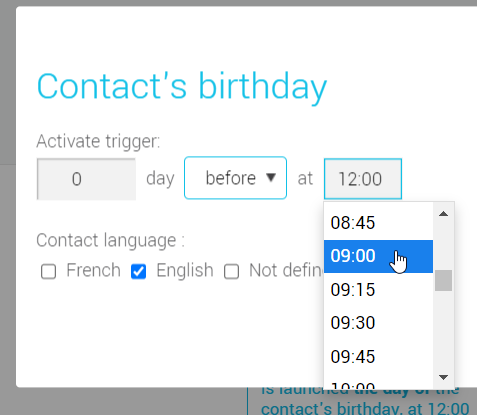
-
Then select the time of day you want the trigger to run.
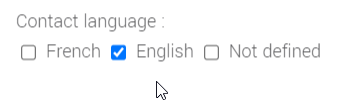
- Select which language your contacts should have to enter your scenario. You can check more than one choice.
- Then click on Edit to confirm the trigger's settings.
- Back in your scenario, click on Choose an email to complete the emailing step.
- In the Choose a template window, if you have already prepared your template, select My Templates. If your template has not yet been created, select New template option instead. Then follow the steps on the screen to complete your mailing's settings.
- Add, if need be, other actions, wait periods or conditions in your scenario.
- At the top of the scenario, under its title, select the number of times you want your contacts to be able to go through your scenario: only once or multiple times.
Choose the type of tracking for your scenario's statistics.
For more information, see the following pages:
About anonymized sending statistics
Mailing statistics

- Before finishing, don't forget to save your scenario. When your scenario is complete and ready to be used, configure its activation. Learn more >